Classic Homemade Aioli Recipe

Discover the art of making authentic aioli, a velvety garlic-infused sauce with Mediterranean roots that elevates everything from roasted vegetables to grilled seafood. This classic homemade aioli recipe delivers a rich, creamy condiment that’s worlds apart from store-bought versions. With just a handful of quality ingredients and proper technique, you’ll create a restaurant-worthy sauce that will impress family and friends alike.
What is Aioli?
Aioli (pronounced eye-OH-lee) is a luxurious Mediterranean sauce originating from the coastal regions of France and Spain. Traditional aioli consists of garlic emulsified with olive oil, though modern versions often incorporate egg yolks for stability and a silkier texture. Unlike commercial mayonnaise, which uses neutral oils and preservatives, authentic homemade aioli features the robust flavor of extra virgin olive oil and fresh garlic, creating a condiment with remarkable depth and character.

Ingredients for Classic Homemade Aioli
The beauty of this classic homemade aioli recipe lies in its simplicity. Quality ingredients make all the difference in creating an exceptional sauce.
- 2 large egg yolks, at room temperature
- 3-4 garlic cloves, finely minced or pressed
- 1 cup (240ml) extra virgin olive oil
- 1-2 teaspoons fresh lemon juice
- ¼ teaspoon kosher salt, plus more to taste
- Pinch of white pepper (optional)
Ingredient Tips: For the best flavor, use fresh garlic and high-quality extra virgin olive oil. If you find the olive oil flavor too intense, you can substitute half with a neutral oil like sunflower or avocado oil. Room temperature egg yolks emulsify more easily than cold ones.
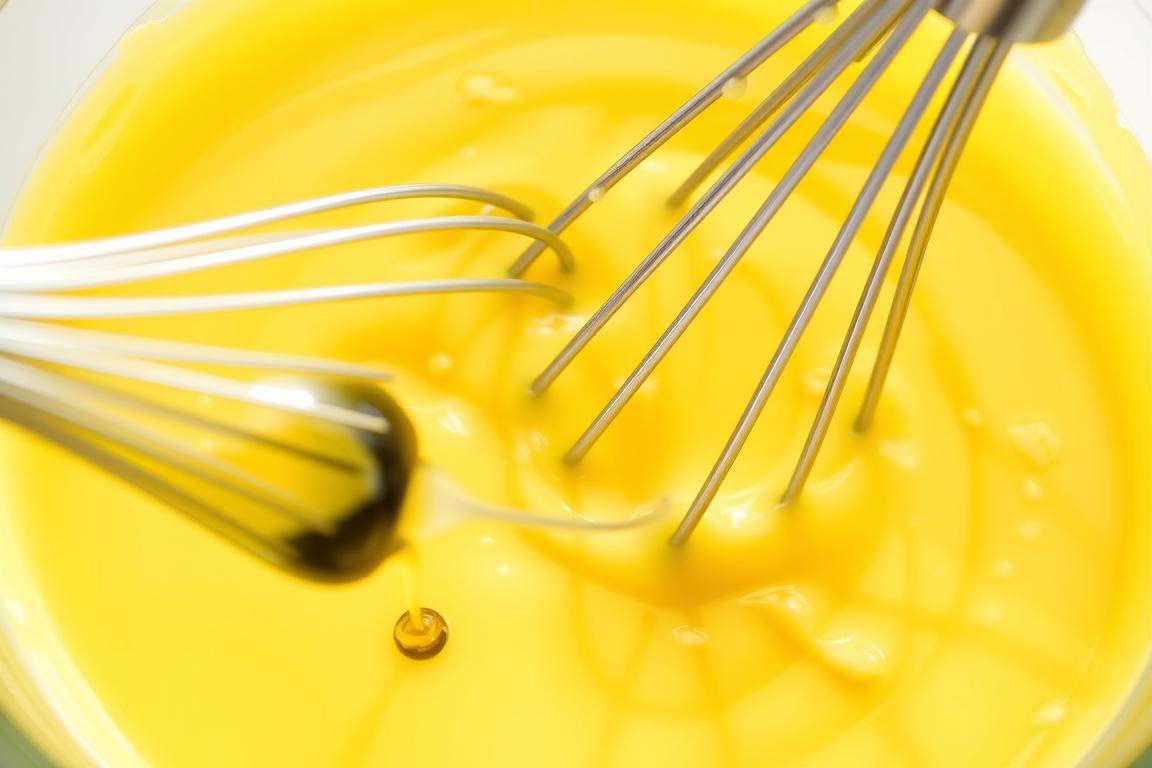
Traditional Method: Making Aioli by Hand
Creating aioli by hand is a time-honored technique that gives you complete control over the emulsification process. While it requires some effort, the results are worth it.

Modern Method: Food Processor or Blender Technique
For those short on time or arm strength, modern appliances make quick work of this classic homemade aioli recipe while still delivering excellent results.
Immersion Blender Method: For the quickest aioli, place all ingredients in a tall, narrow container with the egg yolks at the bottom. Insert the immersion blender all the way to the bottom, turn it on, and slowly pull upward as the mixture emulsifies. This method takes less than a minute!

Troubleshooting Tips for Perfect Aioli
Even experienced cooks occasionally encounter challenges when making aioli. Here’s how to overcome common issues with your classic homemade aioli recipe.
Common Problems & Solutions
- Broken emulsion: If your aioli separates, add a new egg yolk to a clean bowl and slowly whisk in the broken mixture.
- Too thick: Thin with a few drops of warm water or additional lemon juice until desired consistency is reached.
- Too thin: Continue whisking while adding a small amount of additional oil.
- Too garlicky: Balance with more oil and lemon juice, or make a second batch without garlic and combine them.
- Not garlicky enough: Add more freshly minced garlic and let sit for 30 minutes to develop flavor.
Prevention Tips
- Temperature matters: Use room temperature egg yolks for easier emulsification.
- Go slow: Add oil drop by drop initially, then in a very thin stream.
- Constant whisking: Never stop whisking while adding oil.
- Stable bowl: Use a damp towel ring to prevent the bowl from moving.
- Quality ingredients: Fresh eggs and good olive oil make a significant difference.

Flavor Variations
Once you’ve mastered the basic classic homemade aioli recipe, experiment with these delicious variations to complement different dishes.
Herb Aioli
Fold in 2 tablespoons of finely chopped fresh herbs after emulsification. Try basil, tarragon, dill, or a combination. Perfect with grilled fish or roasted vegetables.
Roasted Garlic Aioli
Replace raw garlic with 1 head of roasted garlic for a sweeter, more mellow flavor. Excellent with steak frites or as a sandwich spread.
Spicy Aioli
Add 1 teaspoon of sriracha, chipotle in adobo, or harissa paste for heat. Delicious with seafood, burgers, or as a dipping sauce for sweet potato fries.

Serving Suggestions
This versatile classic homemade aioli recipe pairs beautifully with a wide range of dishes. Here are some of our favorite ways to enjoy it:
Perfect Pairings
- Dip for crispy roasted potatoes or sweet potato fries
- Spread for gourmet sandwiches and burgers
- Accompaniment to grilled or steamed artichokes
- Sauce for seafood (especially crab cakes or grilled shrimp)
- Drizzle over roasted vegetables like asparagus or Brussels sprouts
- Base for elevated potato salad or coleslaw

Storage Guidelines
Proper storage is essential for maintaining the quality and safety of your classic homemade aioli recipe.
| Storage Method | Temperature | Maximum Duration | Notes |
| Refrigerator | Below 40°F (4°C) | 3-4 days | Store in airtight container; may thicken when chilled |
| Room Temperature | 68-72°F (20-22°C) | 2 hours maximum | Not recommended for extended periods due to raw eggs |
| Freezer | 0°F (-18°C) | Not recommended | Emulsion will break upon thawing |
Food Safety Note: Because this classic homemade aioli recipe contains raw egg yolks, it should not be consumed by pregnant women, young children, elderly individuals, or those with compromised immune systems. Consider using pasteurized egg yolks if serving to vulnerable populations.

Frequently Asked Questions
Is aioli just garlic mayonnaise?
While modern aioli is similar to mayonnaise with added garlic, traditional aioli from Provence, France, was made by emulsifying garlic with olive oil alone, without egg yolks. Today’s classic homemade aioli recipe typically includes egg yolks for a more stable emulsion, but it differs from commercial mayonnaise in its use of extra virgin olive oil and fresh garlic, resulting in a more complex flavor profile.
Are there concerns about using raw eggs in aioli?
Raw eggs carry a small risk of Salmonella contamination. To reduce this risk, use the freshest eggs possible, preferably from a trusted source. Alternatively, pasteurized egg yolks can be used in this classic homemade aioli recipe. As noted in our storage guidelines, aioli containing raw eggs should not be consumed by vulnerable populations.
Can I make vegan aioli?
Yes! For a vegan version of this classic homemade aioli recipe, substitute the egg yolks with 3 tablespoons of aquafaba (the liquid from canned chickpeas) or 2 tablespoons of plant-based yogurt. The emulsification process remains the same, though you may need to add the oil even more slowly to achieve the proper consistency.
Why did my aioli turn out bitter?
Bitterness in aioli typically comes from one of two sources: the olive oil or the garlic. Some extra virgin olive oils have a naturally bitter finish, especially when emulsified in a high-speed blender or food processor. Try using a milder olive oil or a blend with neutral oil. Additionally, the green sprout inside garlic cloves can cause bitterness—always remove this before using garlic in your classic homemade aioli recipe.

Master Your Mediterranean Kitchen
Enjoyed this classic homemade aioli recipe? Subscribe to our newsletter for more authentic Mediterranean recipes, expert cooking tips, and exclusive content delivered straight to your inbox.

Conclusion
Creating your own classic homemade aioli recipe from scratch is a culinary skill worth mastering. The difference between homemade and store-bought is remarkable—fresh, vibrant flavors that simply can’t be replicated in commercial versions. While it may take a few attempts to perfect your technique, the satisfaction of creating this luxurious Mediterranean condiment is well worth the effort.
Remember that patience is key when emulsifying the oil, and don’t be discouraged if your first attempt breaks—even professional chefs occasionally need to restart. With practice, you’ll develop an intuitive feel for the process and be able to whip up perfect aioli whenever the occasion calls for it. We’d love to hear about your experience with this recipe and any creative variations you discover along the way!